
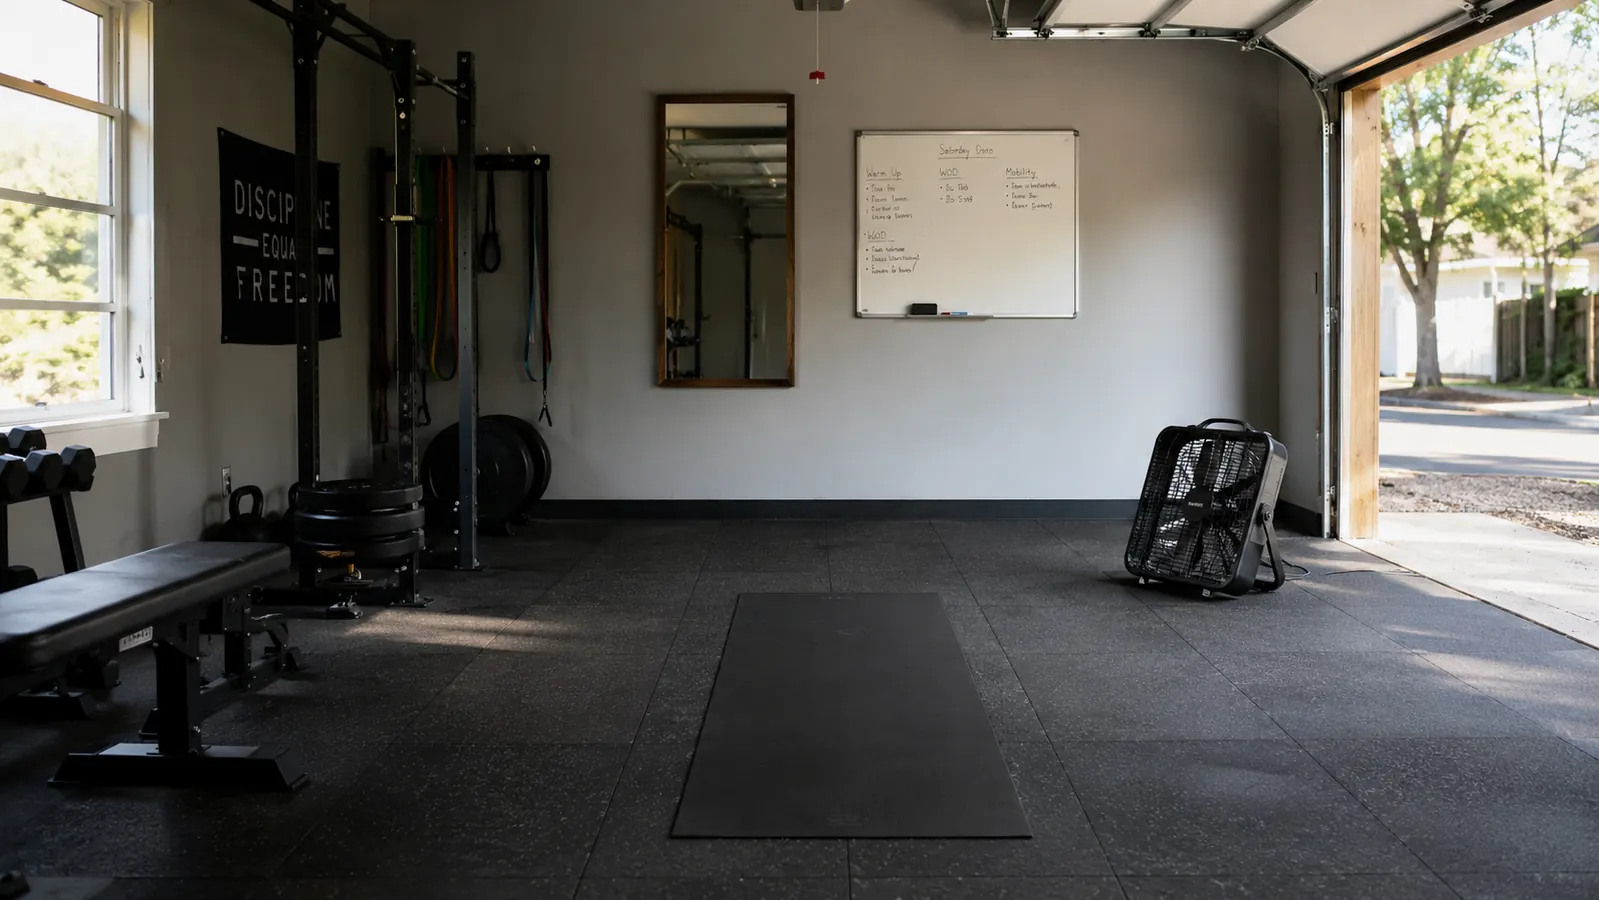
Floor work looks like the easiest thing you will ever do in a garage. You roll something out, you get down on it, you move around a little. Then you actually try it. Your knees protest on the first kneel. Your wrists ache two minutes into a plank. Your lower back starts asking whether the concrete under those rubber tiles is really as forgiving as it looked from standing height. I run a Saturday morning workout group out of my converted one-car garage bay in Tulsa, about six neighbors at a time, and every one of them started on the floor, sore, wondering whether the soreness meant stop or keep going.
Here is what I tell them, and what I will tell you: the mat matters, but it is not step one. What I put under my own knees is the Gaiam Essentials, a 6mm mat that has lived in my garage for a long stretch now and still looks like it did the month I bought it. The sequence below is the one I walk beginners and returners through, people who have not been on a floor since high school gym class and who would like to be able to stand up afterward without making a noise. It takes about two weeks to feel normal, and it needs no equipment beyond a mat, a wall and a kitchen timer.
Put a quarter inch of rubber between your knees and the concrete
The Gaiam Essentials is 6mm thick, 72 by 24 inches, and rolls up with a carry strap so it goes back on the shelf instead of living on the floor forever.
Amazon Check Today's Price on Amazon →Step 1: Pick your floor spot before you buy anything
Walk the space you plan to use and see what you are actually working with. You want a clear rectangle about six feet long and three feet wide, plus room to stretch an arm overhead without hitting a shelf. In my bay that means pushing the fan back toward the door, because the first time I did a lying twist I put my hand straight into the fan cage. Do the walkthrough in the clothes you will work out in, not in slippers, and get down on the floor once, right there, and sit for thirty seconds. You will learn more in that half minute than from any buying guide.
Surfaces lie to you. Carpet feels soft and grabs the mat nicely, but it is squishy under a standing pose and your ankles will fight it. Hardwood is slick enough that a thin mat slides, which is exactly why a textured surface matters. Tile and sealed concrete are cold and unforgiving, and that is what I have. My answer was rubber floor tiles over the concrete, which took an afternoon and was the single best change I made to that space, mostly because it made the room feel like a room. If you are not tiling anything, then the padding has to come from the mat, and that is fine as long as you buy for it.
Two more things about the spot. First, light. My bay has one window and one wall mirror, and the mirror is not vanity, it is how I catch myself dumping all my weight onto my right side, which I do when my shoulder is tired. Second, airflow. A garage in an Oklahoma summer is a hot box by nine in the morning. Put a box fan where it blows across you rather than straight at your face, keep a water bottle on the floor beside the mat, and you will finish the session instead of quitting halfway through it.
Step 2: Get a mat thick enough to kneel on and thin enough to balance on
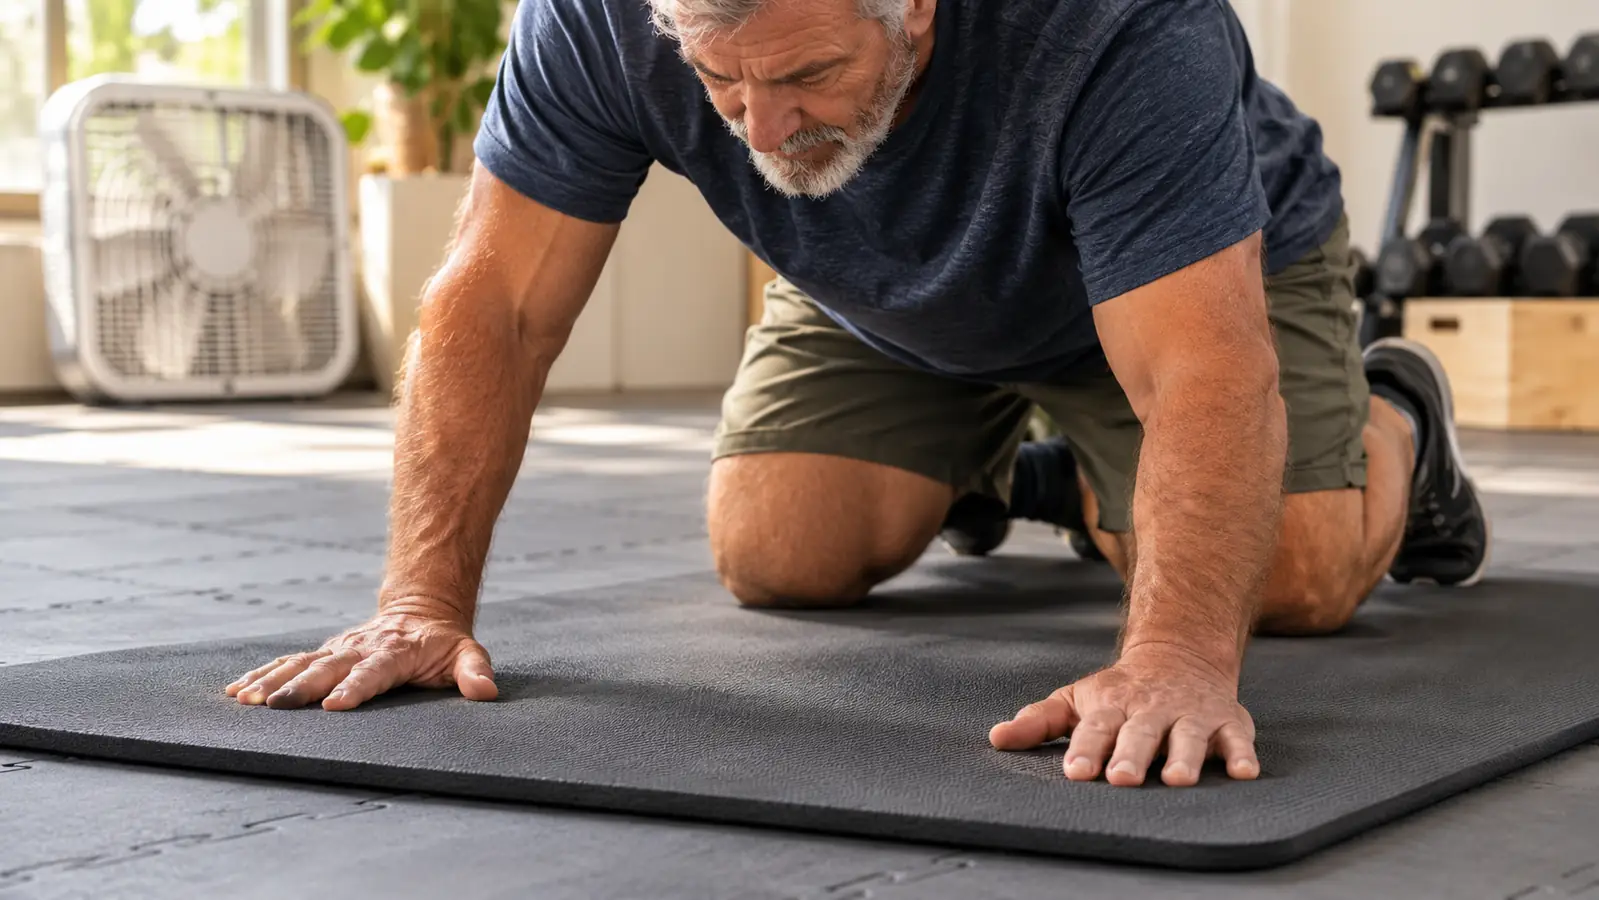
The Gaiam Essentials is a quarter inch thick, which is 6mm, and that number is the whole argument. It is 72 inches long and 24 inches wide, made of nitrile butadiene rubber, with a sticky textured surface for traction. It weighs about 3.5 pounds and comes with an easy-cinch carrier sling, which sounds like a small thing until you have carried a floppy mat through a doorway. Mine gets wiped down after every Saturday session and air dried before it rolls up, because the care instructions say hand wash only and I am not putting it in a machine to find out what happens.
Why a quarter inch and not an inch? Because padding is a trade. A very thick mat is lovely for kneeling and terrible for anything where you stand on one leg or hold a plank, and floor work is full of both. You sink into a soft mat, your wrist bends further than it should, and your balance goes vague. A quarter inch gives your knees and hips and spine enough cushion over a hard floor and still lets you feel the ground under your hands. If your knees are the main problem, and for a lot of people my age they are, buy the thinner mat and add a small pad under the knees for the kneeling parts. That combination beats one fat mat every time.
The 72 inch length matters more than people expect. Some budget mats run shorter than this one, and if you are tall, or if you are doing anything where your arms reach past your head, you end up with your skull on the garage floor. The taller folks in my group noticed the extra length on day one without being told. The 24 inch width is standard but generous enough that you are not constantly shoving yourself back to the middle.
One warning from experience. The textured surface grips well when it is clean and considerably less well when it is dusty. My garage collects grit from the driveway, and a mat left out for a week picks up a film. A damp cloth before you start fixes it in fifteen seconds. Do that and your hands stay where you put them, which is the only thing a mat is really promising you.
Step 3: Learn five moves before you learn a workout
Beginners go looking for a routine, and what they find is a forty five minute video that assumes a level of shoulder and hip tolerance they do not have yet. Skip that for two weeks. Instead, learn five moves and do only those. Mine are a pelvic tilt, a bird dog, a glute bridge, a dead bug, and a seated figure four stretch. None of them require standing, none of them involve jumping, and all of them quietly build the exact strength that makes floor work stop feeling awkward.
Two or three slow reps of each, breathing the whole time. The pelvic tilt teaches your lower back to press flat instead of arching. The bird dog, on hands and knees with one arm and the opposite leg reaching out, is where most people discover their hips have opinions. The glute bridge is the one that saves your back later, because floor work asks your hips to do what your spine has been doing badly for years. The dead bug looks like nothing and is not. The figure four is the stretch you will be grateful for at the end.
Modify without apology. Ray, my husband, has a left knee that objects to kneeling, so he puts a folded towel down first and does the bird dog with his knee on the towel, and he sets his feet a little wider for the bridges. I have a right shoulder I hurt years ago, so I warm it up with slow arm circles before I put any weight through it, and I do the dead bug with my arms straight up rather than reaching back. Neither adjustment makes the workout easier. It makes it possible, which is the point.
Three sets of a pelvic tilt sounds like nothing. It is the reason half my Saturday group can now get up off the floor without grabbing the wall.
Step 4: Set a ten-minute timer and stop when it rings
The first four weeks are not about fitness. They are about proving to yourself that the floor is a place you go three times a week. So set a timer for ten minutes, do the five moves, and when the timer goes off, you are done, even if you feel like continuing. Especially if you feel like continuing. The people who quit are almost always the ones who did forty minutes on day one, could not sit comfortably for two days, and never came back.
Ten minutes, three days a week, for two weeks. Then add a second round of the five moves, which gets you to roughly eighteen minutes. After another two weeks, add a short plank or a few more bridge reps. That is the entire progression and it is deliberately boring. Boring is what builds a habit. By the end of the first month you will have spent a few hours on a mat, which is a few hours more than most people manage, and your body will have had time to adapt instead of rebel.
Watch for the next-day test. Soreness that shows up the following morning and fades within a day is normal, especially in the hips and the deep abdominal muscles. Sharp pain, or anything still there in three days, means you scale back. It does not mean you push through. I am a group fitness instructor, not a physical therapist, and if something hurts in a way that worries you, that is a conversation for a professional.
Step 5: Write the circuit on a whiteboard and repeat it for two weeks
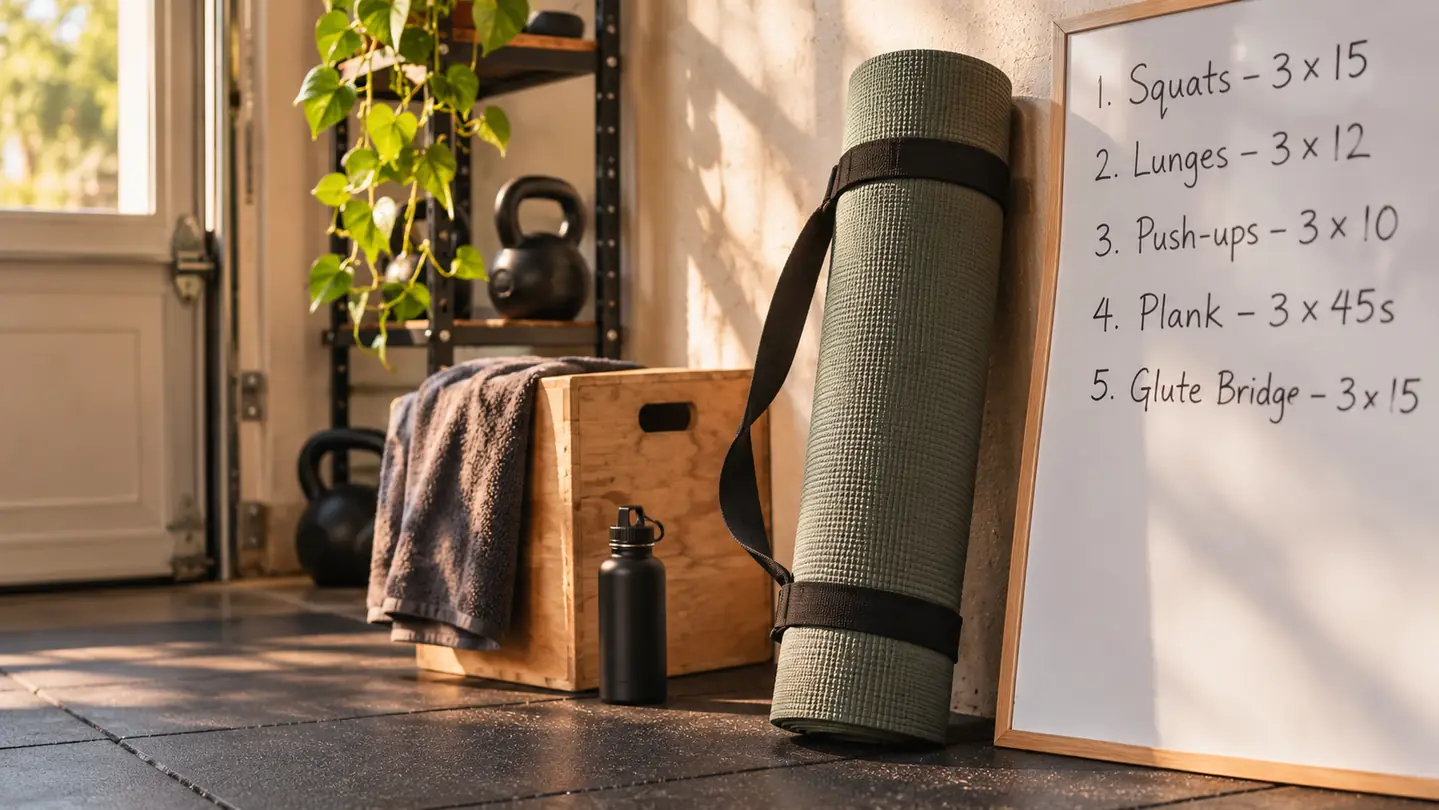
I have a plain whiteboard on the garage wall and it does more for consistency than any app I have tried. Every circuit gets written on it in the order I do it, with the reps beside each name, and it stays there until the two weeks are up. When I walk into the bay at seven in the morning and I am not awake enough to make decisions, I do not have to make any. The board makes them for me.
Keep the same circuit for two weeks before you change it. This is the part people fight me on, because there is a strong pull toward novelty. But repeating the same five moves is how you notice that the bird dog is steadier this week, or that your hips come down quieter on the bridge, or that you got through the whole thing without holding your breath. Those small wins are what keep a beginner showing up. A different workout every day hides all of it from you.
When the two weeks is up, change one thing. Swap the pelvic tilt for a slow cat cow. Add a second round. Take the towel out from under your knees and see how it feels. One change at a time, and jot down what happened. That is a training log, even if it looks like a grocery list on a garage wall.
What Else Helps
A few things I keep within arm's reach. Water, because a garage is dry and you will forget. A hand towel, because your hands will sweat and a sweaty hand on a textured mat is a slipping hand. A box fan, angled across the mat rather than at your face. A foam roller for after, which most people skip and then wonder why their hips are tight on Thursday. The wall mirror, which is there so you can see the lean you cannot feel. And a small pad or folded towel for knees that want a little more than a quarter inch can give.
Two arguments I have every season with somebody in my group. The first is socks. Socks on a mat slide, and a sliding foot in a bridge is how people tweak things. Bare feet grip, and if the floor is cold, that stops being a problem about ninety seconds in. The second is shoes. Keep them off the mat entirely. Garage grit grinds into the surface and the mat stops being grippy long before it stops being a mat. Wipe it down, let it dry, roll it up with the strap, and it will still be the same mat in two years, which is more than I can say for most of what I have bought for that garage.
One last thing, and it is the part nobody puts in a getting-started article. Do the first session when you are not rushed. Not at six in the morning before work, not ten minutes before you have to leave. Give yourself a slow half hour on a Saturday, put the fan on, put the mat down, and let the first ten minutes be clumsy. Floor work gets easier fast once your body stops treating the ground as a hostile surface. It just needs a few honest sessions to believe you.
The mat that stays rolled up by the garage door
6mm of padding, 72 by 24 inches, a textured grip surface and a carry strap. Everything else in this article costs nothing.
Amazon See the Gaiam Essentials on Amazon →